🏷️ Tags - Overview
This guide provides a step-by-step process for effectively using tags in a labeling system, enhancing organization and retrieval of labels.
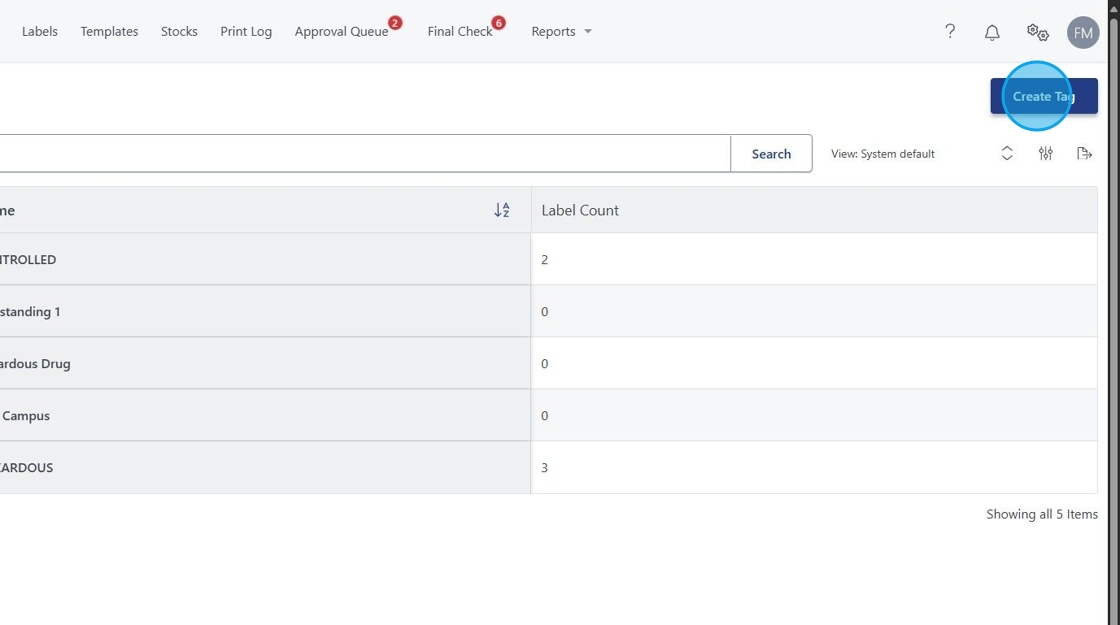
1. Navigate to Tags via the Gear Settings Icon.

2. Click "Create Tag"
3. What would you like to call your Tags. Think of this as it will be used like a Folder. Examples: CONTROLLED, HAZARDOUS, AUXILIARY....
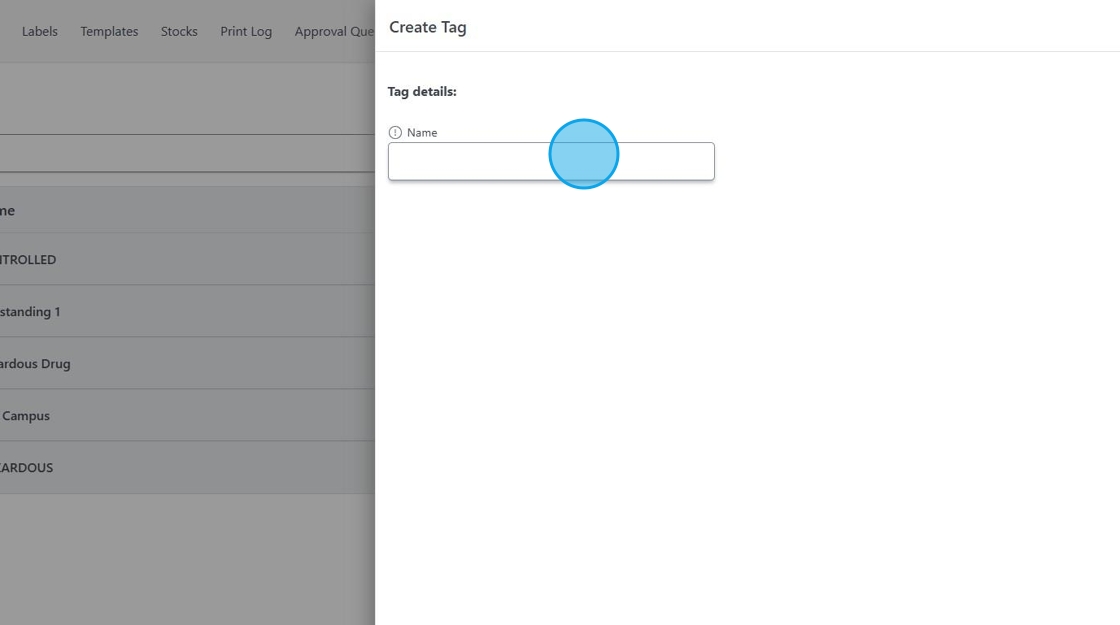
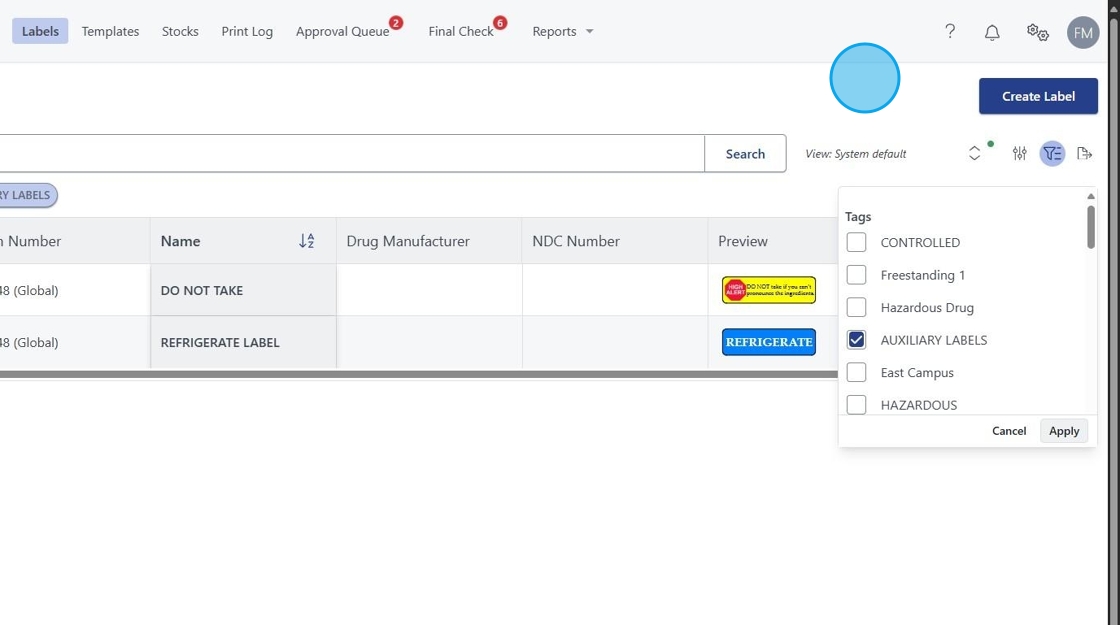
4. In this example I want to organize my "AUXILIARY LABELS"
5. Click "Save"

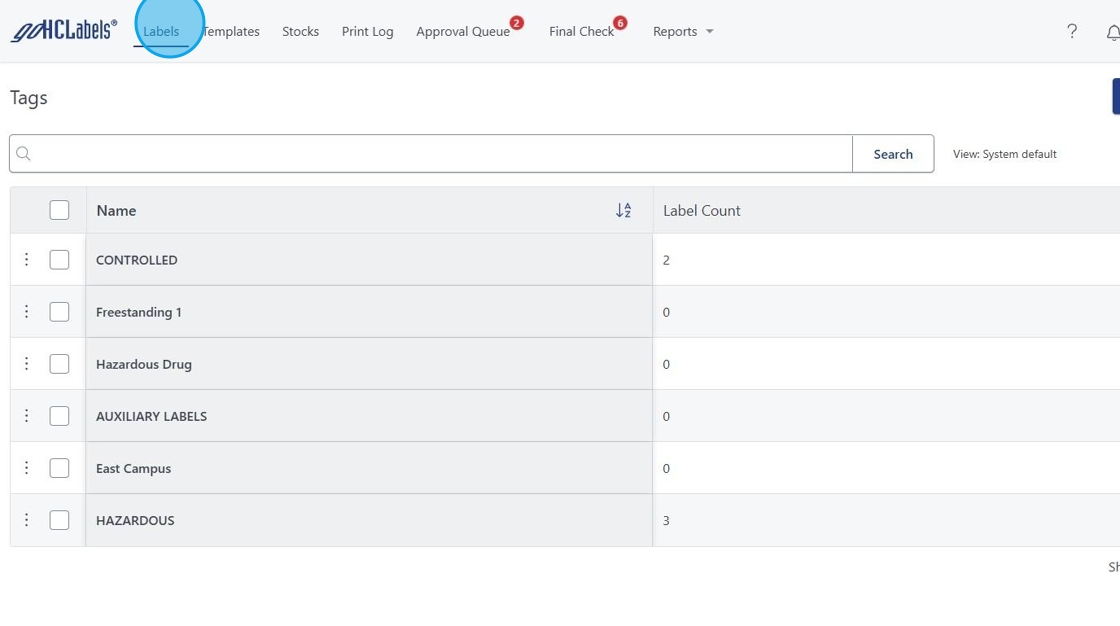
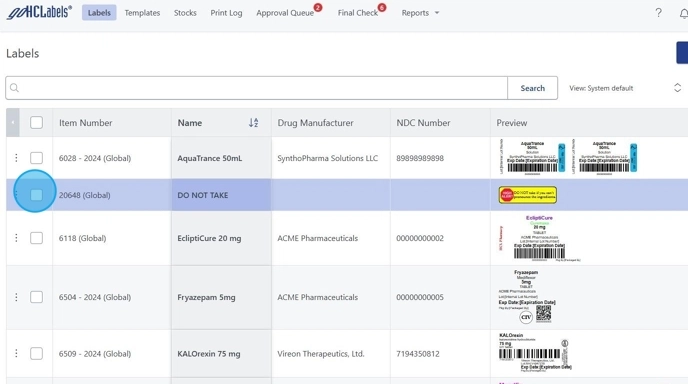
6. Go back to "Labels"
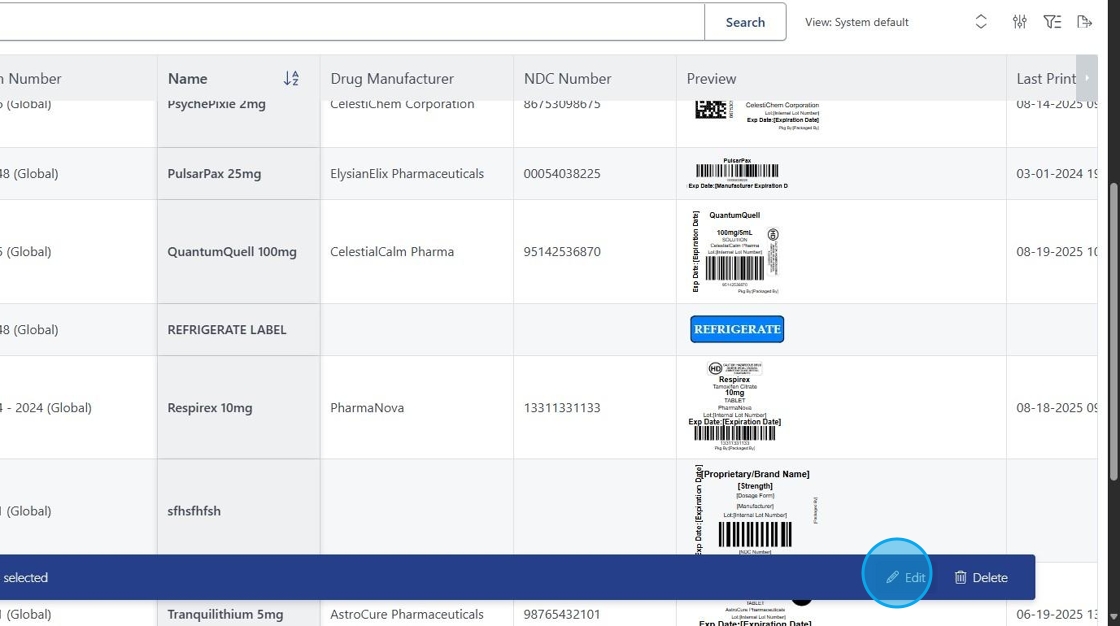
7. If you'd like to move existing labels to a Tag, Multiselect there designed boxes on the left of each label.
8. Click Edit in the bar below.
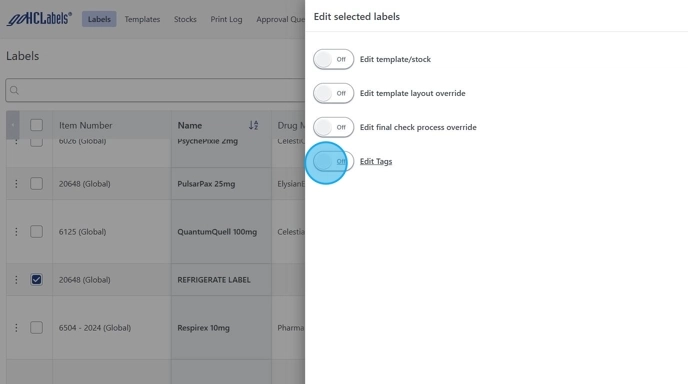
9. Select Edit Tags > Select desired Tag to link the previously selected tags.
Click Save.
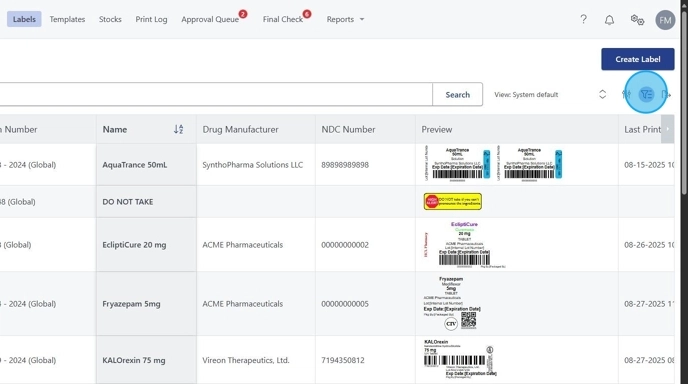
10. Now that Tags are Applied. Use the Filter Icon. (Top Right in the Labels Section) and select your Tags.
11. Viola. Your Labels are now organized! 👍
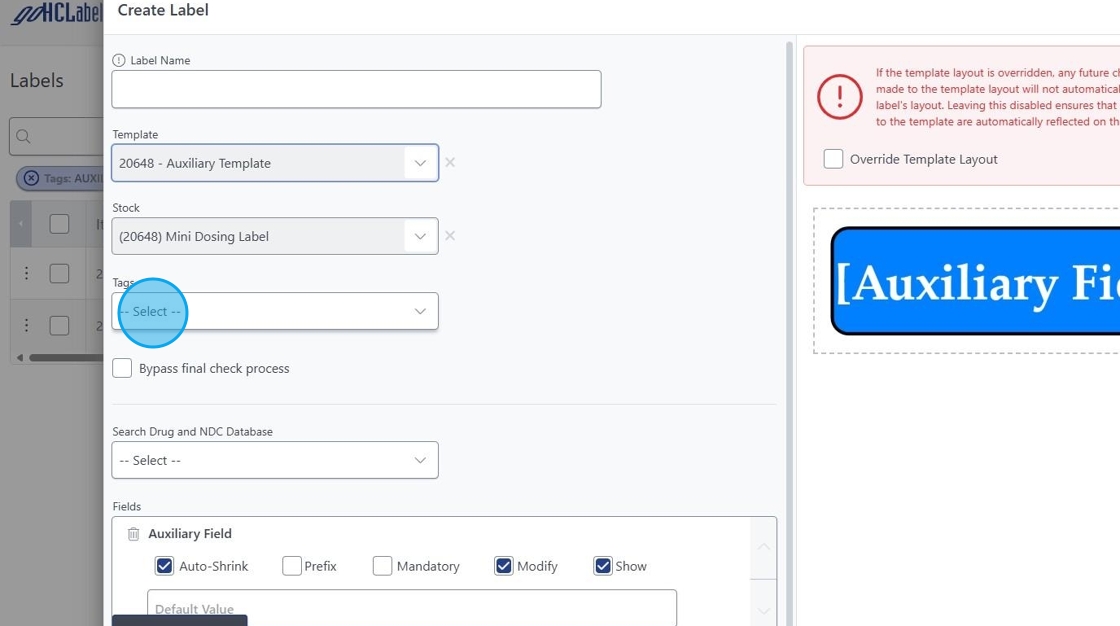
12. Newly created labels will also individually show a Tags selection you may use to streamline your organization.