🧑🎨 Templates - Custom Fields
Created on an Organizational level, Custom Fields are added by an Administrator as optional fields that can be added onto any template or label when being created. Like standard fields, Custom Fields are optional to be retrieved in Reporting.
- Click the Settings icon. Select Custom Fields from the dropdown menu.
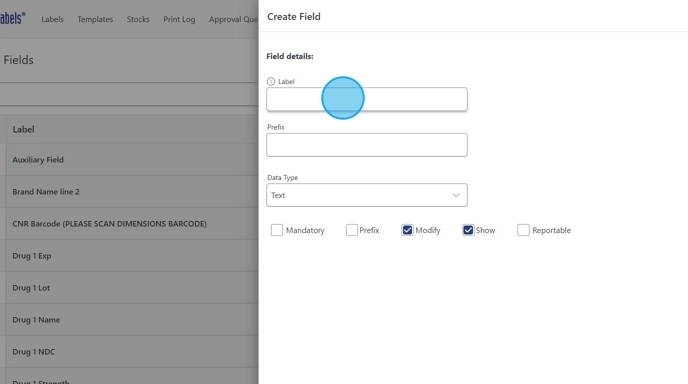
2. Click "Create Field"

3. You can name your custom field as desired.
In this example I am adding a Prep Date for the time I am repackaging. You may also select a Prefix for this field with different or identical names. As well as being able to select it's reportability.
4. To add the field to a Template - Click "Templates"

5. Select your desired Template to modify.

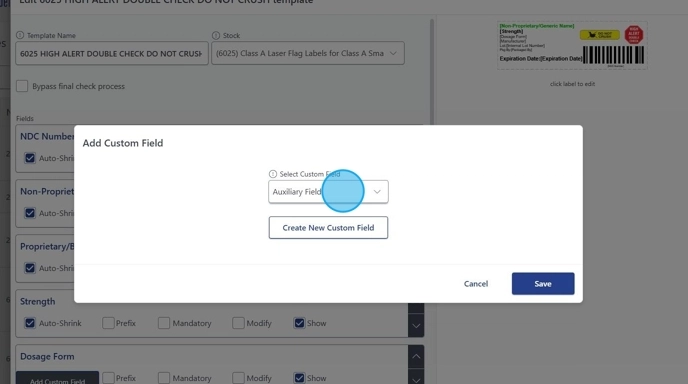
6. Click "Add Custom Field"

7. Select your new custom field from the dropdown.
Click "Save"
8. Click the label/template to modify with our label designer.

9. Click "NDC Fields" which will open the drop down to select your desired field.
Once selected, left click anywhere on the template to confirm placement.
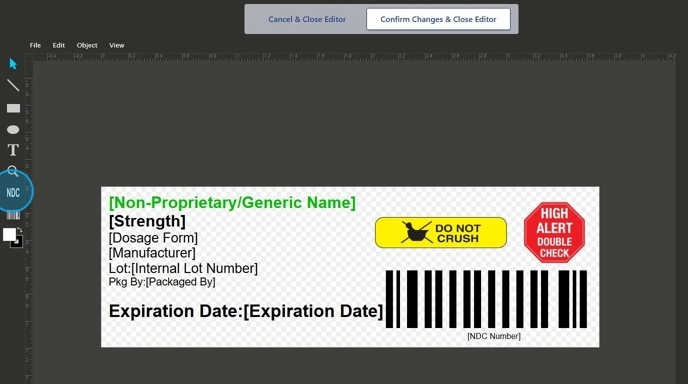
10. Adjust as needed and Click "Confirm Changes & Close Editor"

11. Click "Save"

Tip! Custom Fields can be reused across multiple templates.
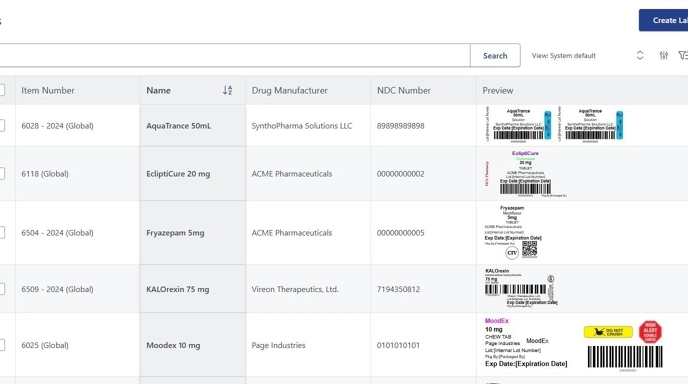
12. Now we can create a new label based off this new template. Click "Labels"

13. Click "Create Label"

14. Select your updated Template and enter the appropriate information.

15. Click "Save and Print"
Click "Cancel"
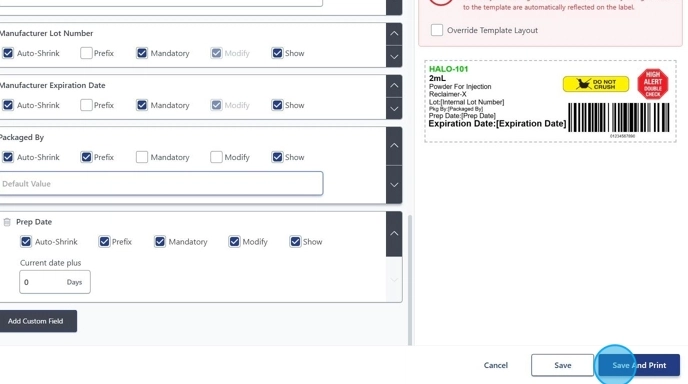
16. When you go to print the label, it will show your new custom field.
In this example again I choose to add a Prep Date of the day I printed this label in the preview; it will update automatically every day to the current date.
