💊 Label - Custom Barcode Builder
The Custom Barcode Builder allows you to create barcodes for drug repackaging using more than just the NDC. You can include additional data elements such as expiration date, manufacturer, lot number, and other available fields to meet your facility’s labeling and workflow needs. This flexibility supports customized scanning and tracking processes across different use cases. Before using a custom barcode, ensure that all downstream systems in your facility (such as dispensing cabinets, scanners, and EHR systems) are able to correctly scan and interpret the custom barcode format.
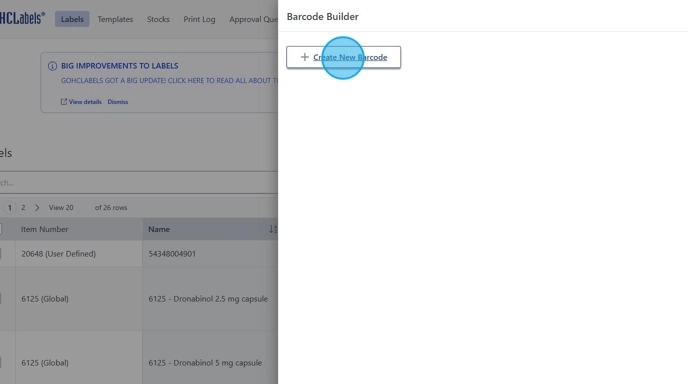
1. Click the Settings (Gear Icon) in the top-right corner, then select “Barcode Builder.”
2. Click “Create New Barcode.”
Use this option to combine multiple data fields into a single barcode.
Once saved, this new barcode can be used on both labels and templates.
3. To apply your new barcode to existing label templates, click “Templates.”

4. Select a template you’d like to modify, then copy and rename it.

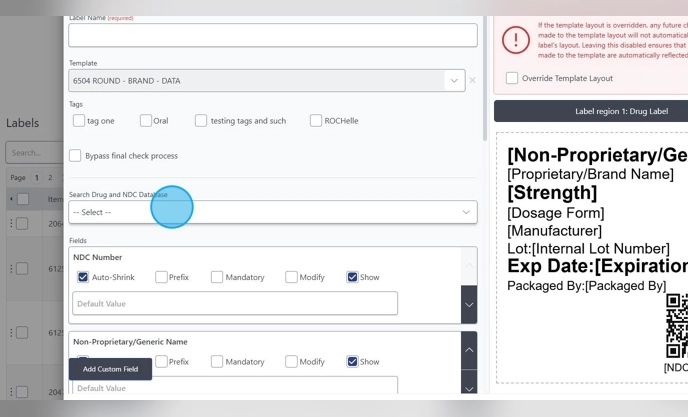
5. Click the “Template Name (required)” field and rename it to your preference.
In this example, we’ll name it “DATA” after the stock name for clarity.

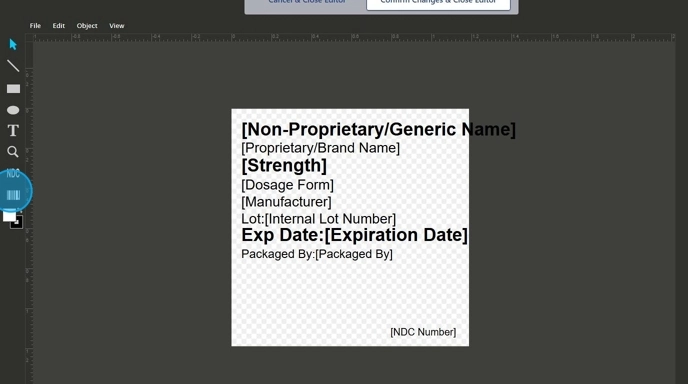
6. Click on your label to open the Label Designer screen.

7. Click the existing barcode and press Delete on your keyboard.

8. To add the new barcode that was created in the Barcode Builder.
- Click “Barcodes.”
- Select “Custom Barcodes.”
- Choose your new barcode (example: 2D Barcode).
- Click anywhere on the label to place it.
Adjust placement as needed, then click Confirm at the top to save changes.
9. Click "Save."

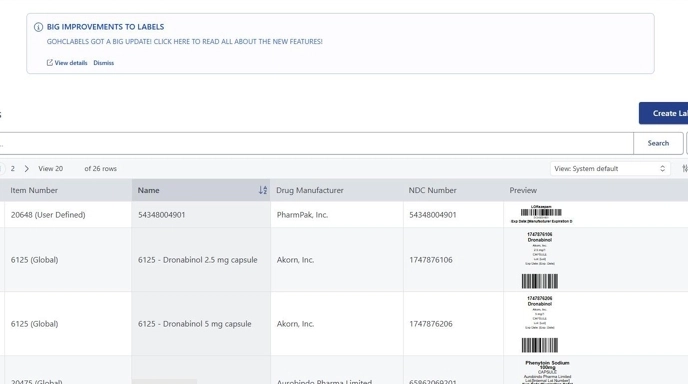
10. From the main screen, click “Labels.”

11. Click "Create Label"

12. Under Templates, choose the one you just created.
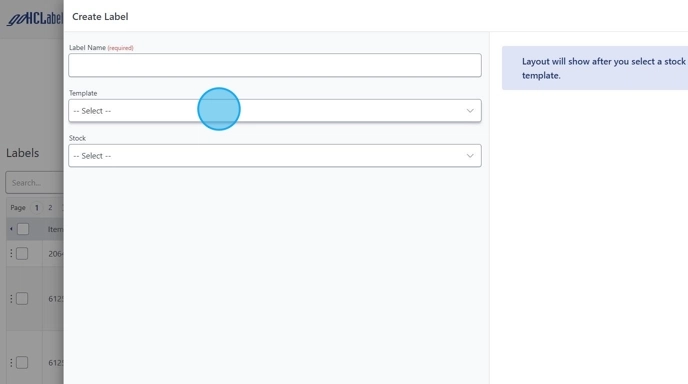
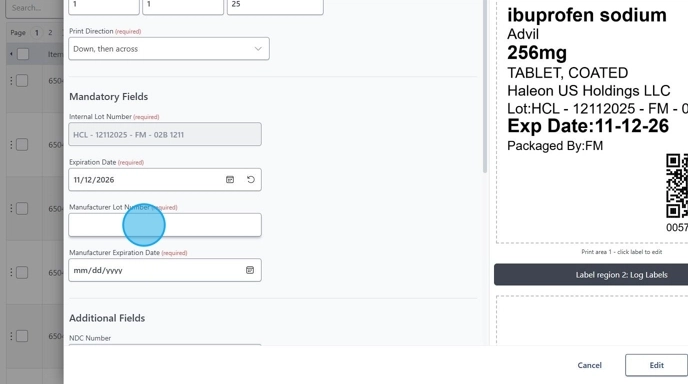
13. Fill in the required or needed information.
14. Click “Save” or “Save and Print”

15. The barcode will automatically update in real time with all linked fields.
16. Click "Print"- You’ve successfully created and applied a custom barcode to a new label template.
